








Three divers have locked in support weapons. Nobody has picked anything that will buy the fourth diver ten seconds at a terminal. That’s the moment to change your Helldivers 2 loadout. The best fourth pick depends on what kept your squad from finishing its last objective. Here are three starting builds and the problem each one solves.
On ActivePlayer.io we track how many people are playing. That number won’t tell you what the three people in your lobby brought. Before you ready up, look across their stratagem cards. Find one player who can answer heavy armor and one who can keep smaller enemies off the objective. You can cover either job. Trying to do both with every pick is how four people end up waiting for the same kind of call-in.
| Your last dive went wrong when… | Start with this job |
|---|---|
| A Charger arrived and everyone had to stop what they were doing | Bring a repeatable answer to heavy armor. Let a teammate keep the smaller bugs off you while you reload. |
| A bot patrol pushed everyone off the console | Bring something you can leave covering the objective while you interact with it. |
| The squad concentrated on a Harvester and lost track of the crowd | Assign one diver to thin the crowd and one to handle the Harvester. Keep a call-in available for the next objective. |
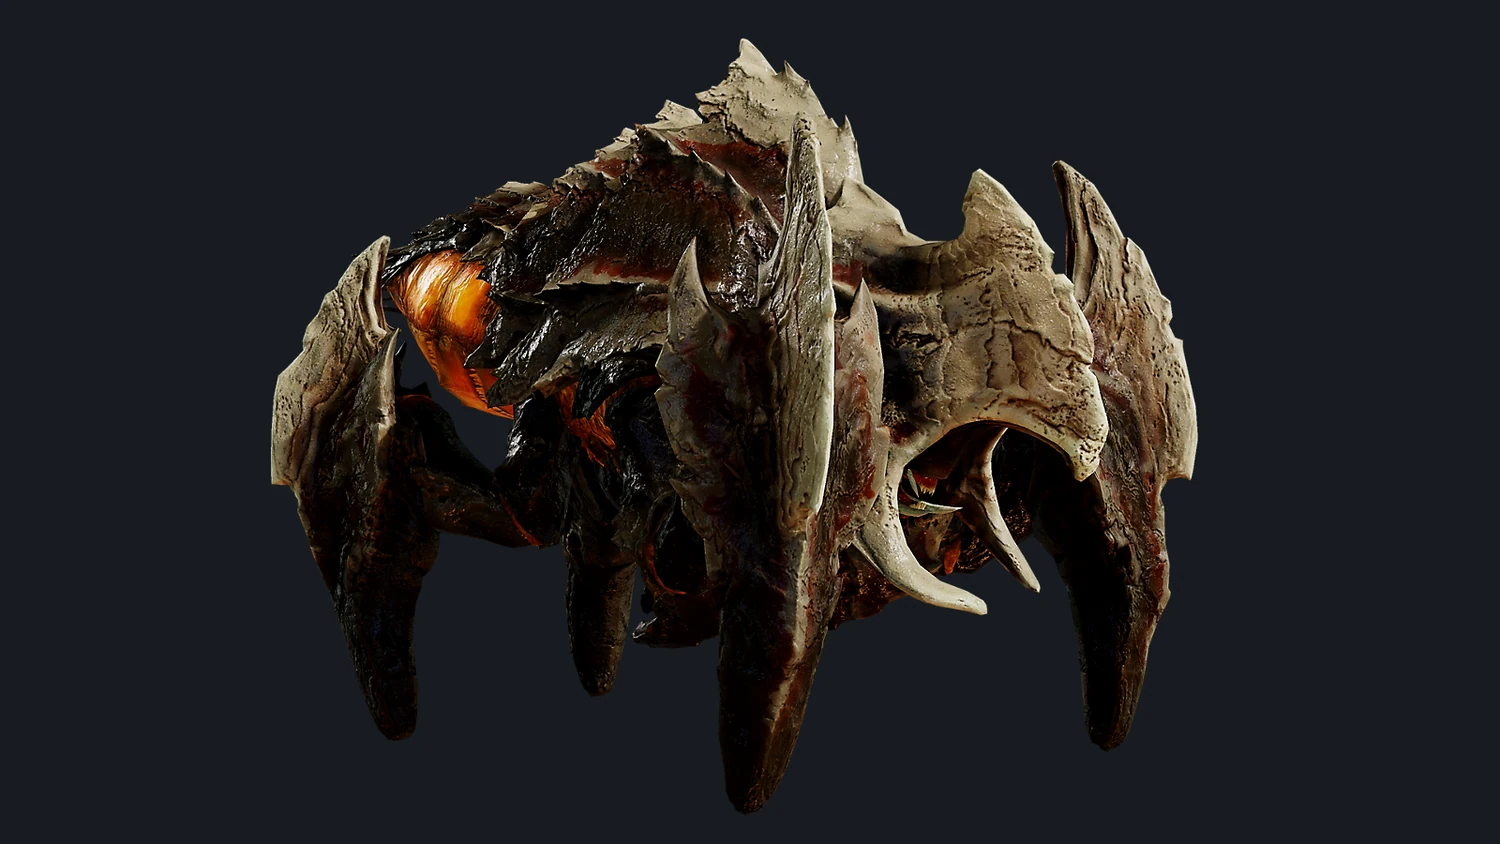
Terminids: give one diver the Charger job
Try these four picks. Recoilless Rifle, Eagle Airstrike, Orbital Precision Strike and Machine Gun Sentry. The rifle gives the squad a repeatable response to armor. The sentry gives you an option when smaller bugs interrupt an objective. The airstrike and orbital are separate calls, useful when your support weapon or its backpack is still on the wrong side of the map after a redeploy. We chose these four for a squad that needs someone to handle armor between objective waves.
Here’s the easy equipment mistake. Selecting the Recoilless Rifle uses one stratagem choice. On the ground its ammunition pack occupies your Helldiver’s backpack slot. If you also select a personal shield pack, you can call both down, but you can only wear one pack at a time. In Arrowhead’s assisted-reload update, the developer explains that either the wielder or the helper can carry the correct ammo pack. You can keep it yourself and accept help when a teammate is beside you.
Still unlocking the rifle? take an expendable anti-tank call-in if you own it. Its single-use icon is your reminder that your next use depends on another available launcher. If a teammate already owns the armor job, start with your available machine gun and keep the reload window clear for them.
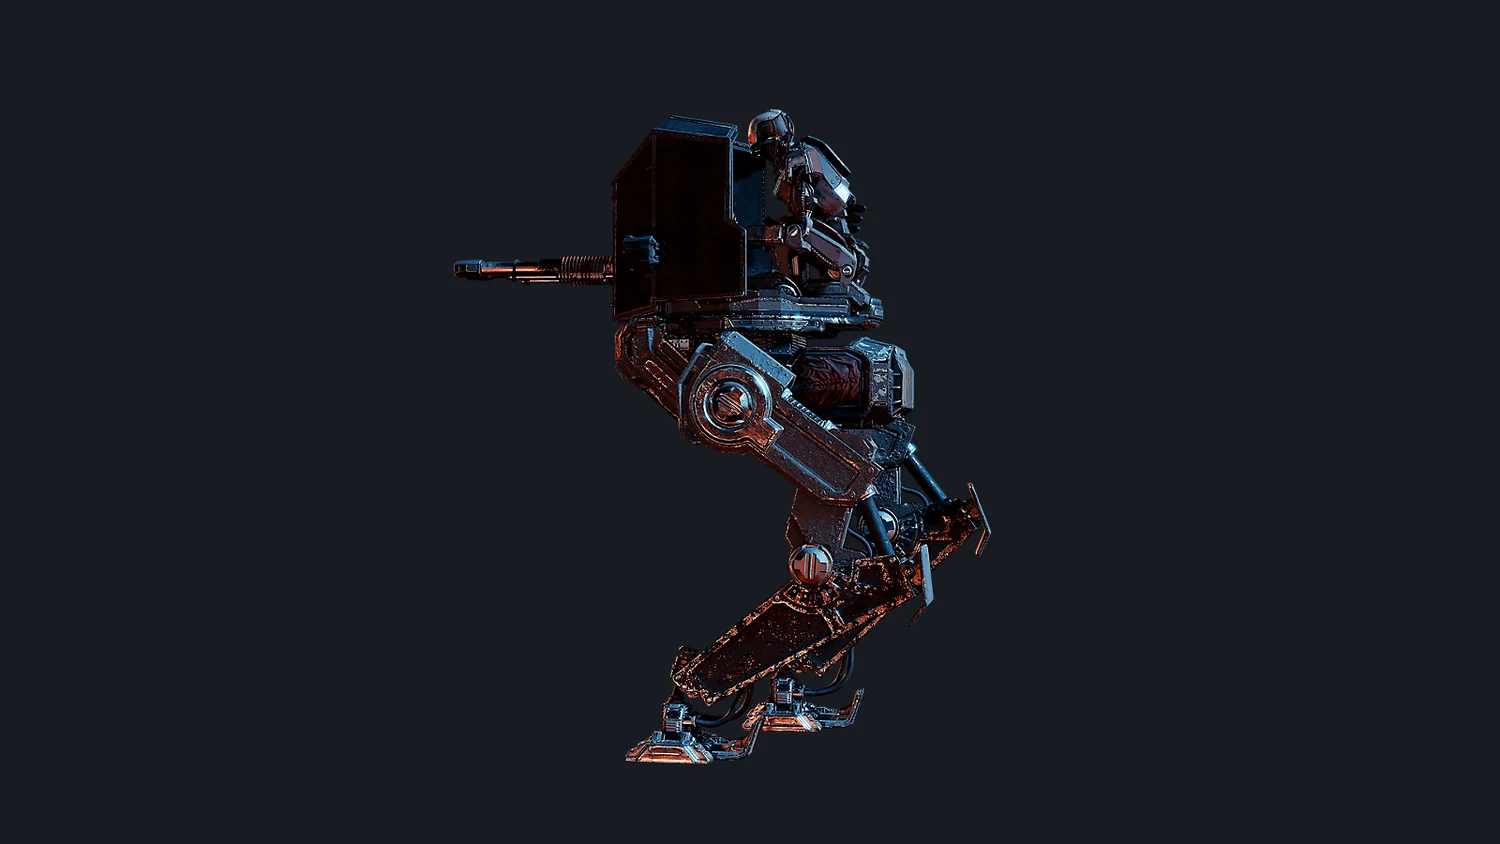
Automatons: cover the console while someone works
Try these four picks. Autocannon, Machine Gun Sentry, Eagle Airstrike and Orbital Precision Strike. This build suits the player who reaches a console with teammates but keeps getting pulled away from it. Agree who will use the console before deploying the sentry. Keep its firing path clear of the interaction point and the route your squad will take back out.
Look twice before taking this version. The Autocannon also comes with an ammunition pack. If your plan depends on wearing the supply backpack yourself, pick a support weapon without the backpack symbol instead. If you lost the last mission because multiple heavies outlasted your squad, a sentry alone won’t solve that problem. Switch one of the overlapping call-ins to the armor role and tell your teammates which job you’re taking. Arrowhead’s co-op walkthrough shows why it treats mission type and the other divers’ equipment as part of loadout selection.
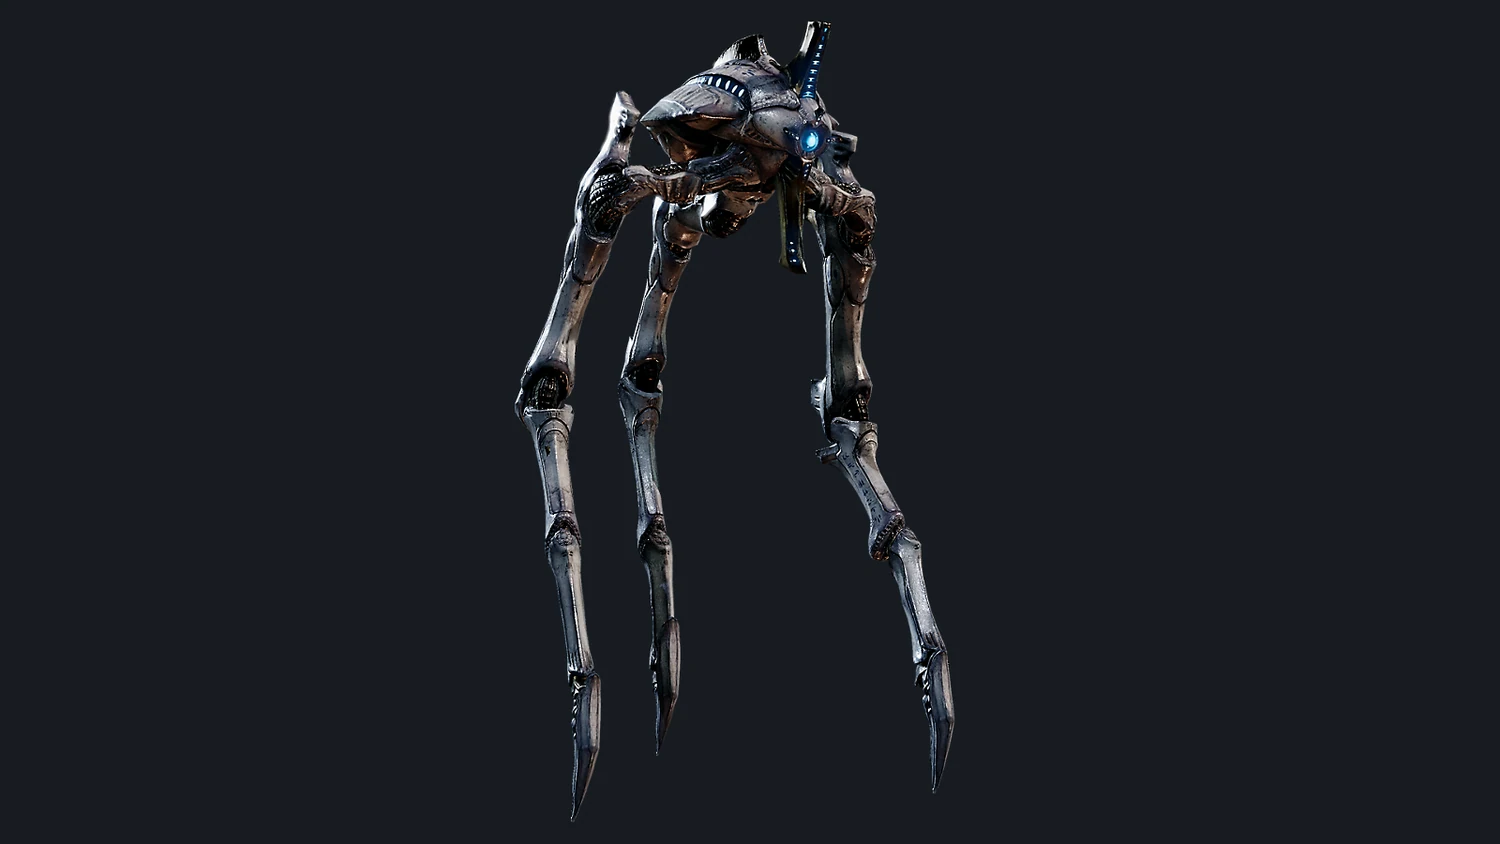
Illuminate: split the Harvester from the crowd
For the crowd-control diver, try these four. Machine Gun, Supply Pack, Eagle Airstrike and Machine Gun Sentry. This pairing leaves the backpack position free for supplies. It makes sense when someone else has already committed to the heavy and the rest of the squad keeps getting swarmed. If nobody has claimed the heavy, change roles before the drop. Swap the Machine Gun and Supply Pack for a Recoilless Rifle and another call that covers the objective.
Judge the choice by the result you wanted. If the heavy falls but everybody leaves the terminal each time the crowd arrives, taking a second heavy weapon addresses the wrong failure. If smaller enemies never reach your position and the same heavy repeatedly forces a retreat, try the armor swap. Faction alone can’t settle that choice. The official enemy field guide shows the different fronts and units you’re planning around.
Check the four slots before the next drop
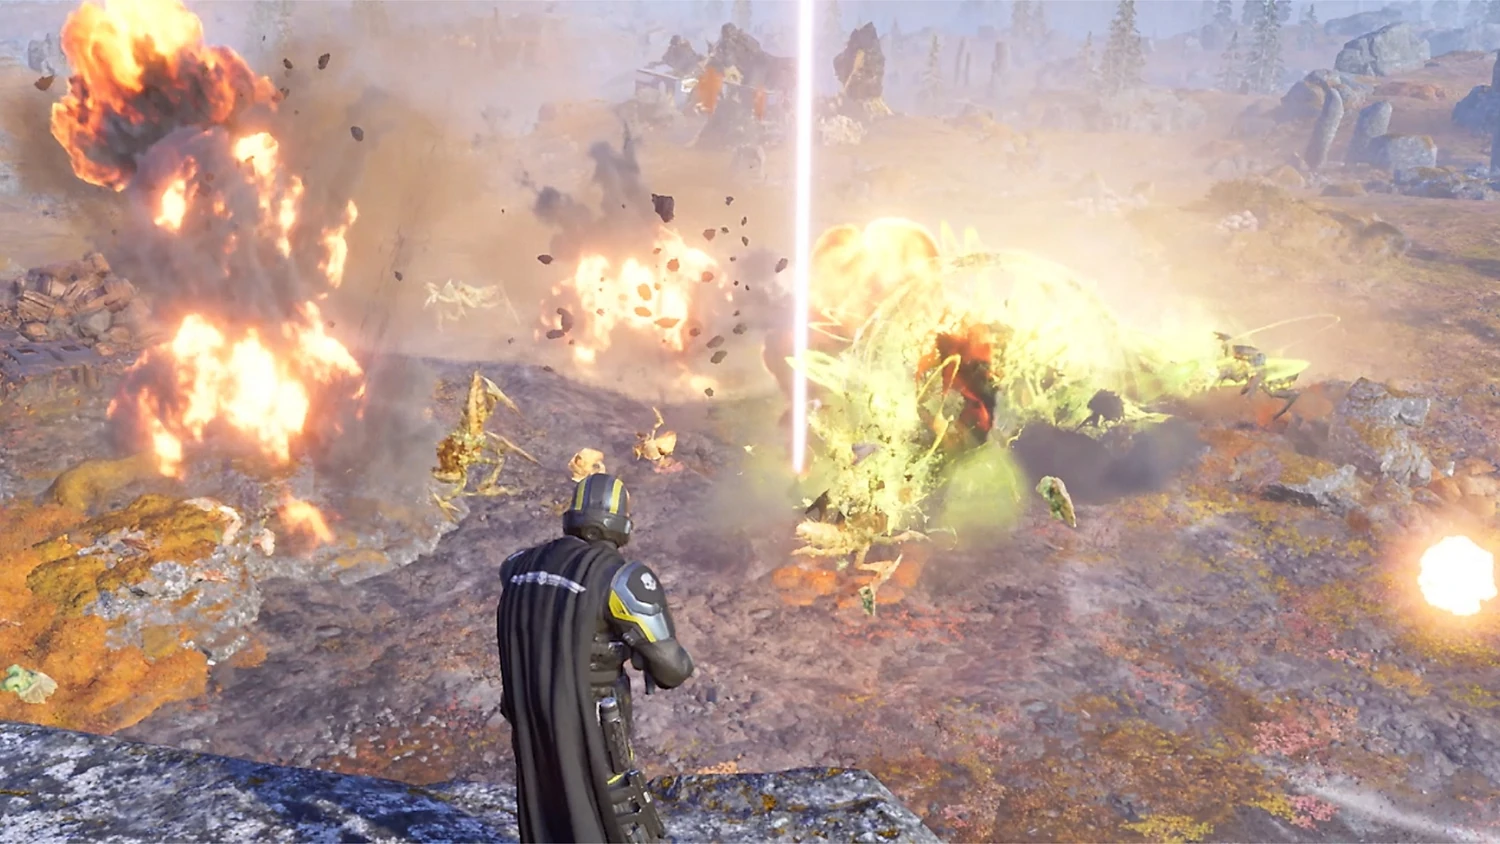
On the loadout screen, name the reason for each pick in plain language. “That’s for the Charger. That one buys terminal time” is enough. Check the support weapon’s backpack symbol against the pack you intend to wear, and check the expendable symbol before counting on a reload. If two slots do the same job, give the spare one to the problem that interrupted the last objective. The PlayStation cadet guide illustrates the differences between backpack, support and defensive stratagems.
After extraction, compare one event across two dives. Check who handled the first heavy, whether a teammate had to abandon the console, or whether your armor answer was available after a redeploy. Change the slot linked to that failure and keep the others steady for one mission. You’ll learn more from that comparison than from copying another player’s entire four-slot loadout.
Watch how two divers share jobs in PlayStation’s official co-op and combat trailer.

