Hi there, Minecraft architects! If you are looking for a way to build something futuristic with Minecraft then this is the perfect guide for you. Stop sprawling in Minecraft and build something worth while the thought of, “What’s next?”, will end here! From towering skyscrapers that touch the heavens to spaceports that are gateways to the stars, we’re about to embark on an epic quest to bring the future to life—one block at a time.
In this comprehensive guide, we’ll list down 10 of the most intricate world of futuristic Minecraft structures that will not only challenge your building skills but also ignite your imagination. With the help of AI we re-imagine how these worlds look like.
From the Underwater City that explores the mysteries of the deep or a Hovercar Racing Track that brings the adrenaline rush of speed into a blocky universe, we’ve got something for every aspiring futurist.
These structures will be your next project on your Minecraft adventure. These aren’t just buildings; they’re visions of what could be, brought to life through the limitless potential of Minecraft. Ready to make the future your playground? Let’s get started!
Minecraft is one of the most played building block game worldwide with over 1 million concurrent players and hundred of thousands players building something new.
While you are here you might be interested on how and where to mine diamonds in Minecraft. This guide will much more easier as well if you know how to install Minecraft Forge the official Minecraft modding tool.
#1 Futuristic Skyscraper
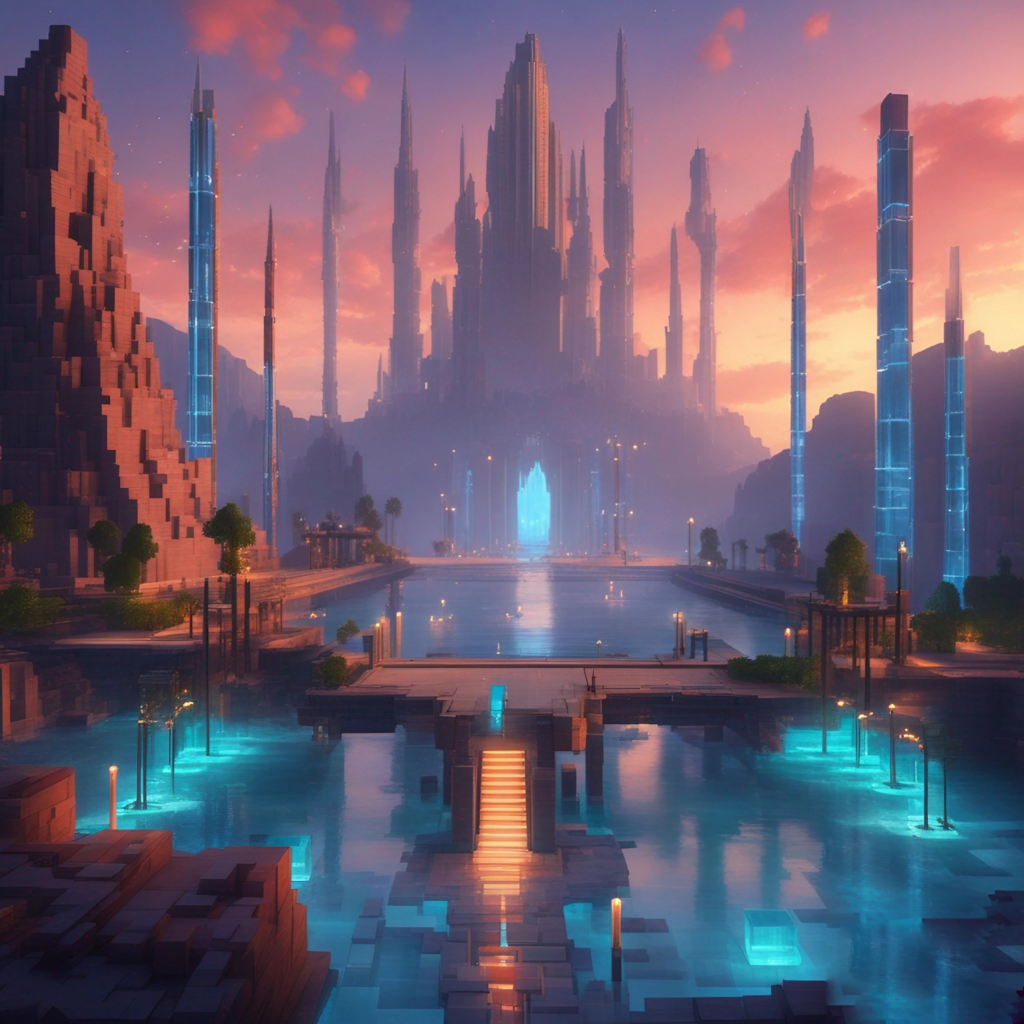
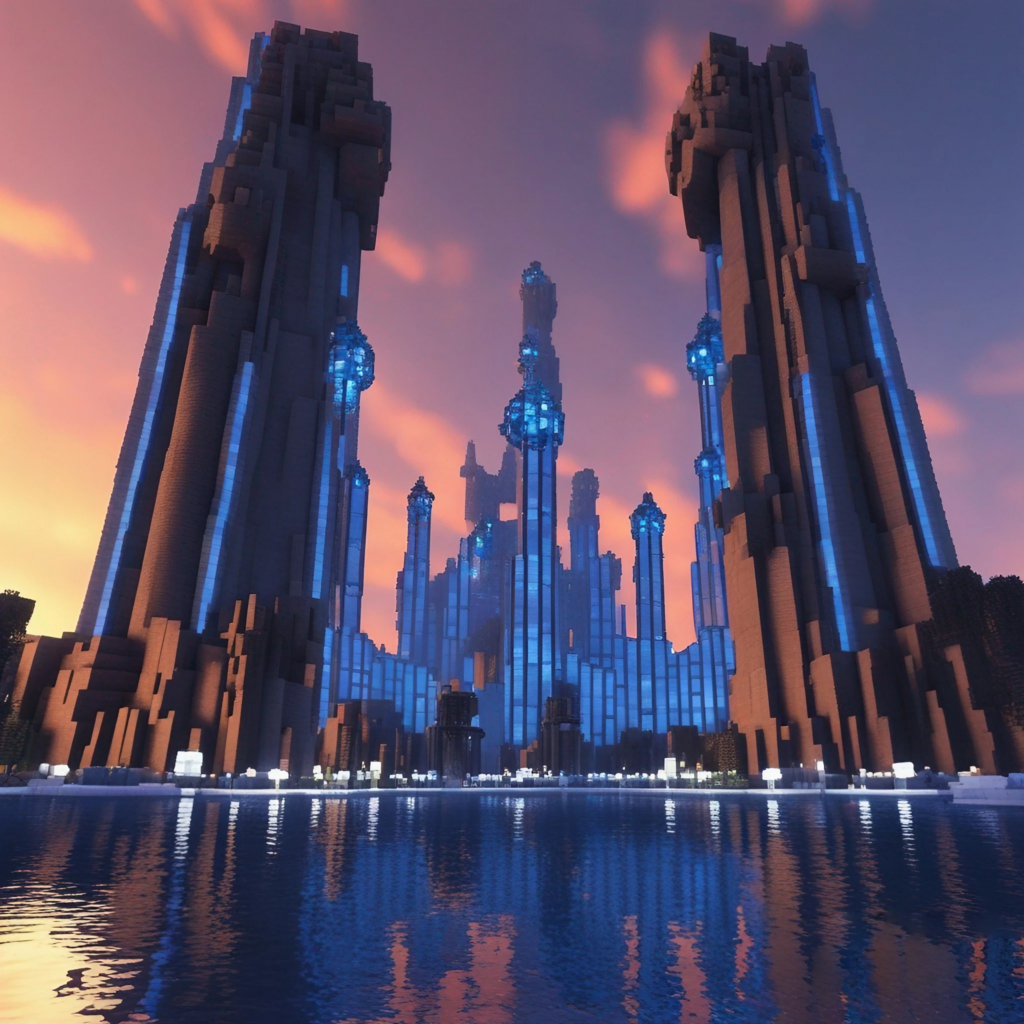
First on our list is the Futuristic Skyscraper. On this section we are going to build a futuristic skyscaper complete with amenities in Minecraft. This Skyscraper will feature sleek glass walls, neon accents, and multiple levels. The skyscraper can have various amenities like a rooftop garden, a helipad, and an observation deck.
Materials
- Before we get this build party started, let’s chat materials. For this phat skyscraper you’ll need:
- Glass Blocks – Loads of ’em! Nothing screams sleek and modern like tons of glass.
- Concrete Blocks (White, Gray, Black) – This will make up the skeleton of your sky-high masterpiece.
- Sea Lanterns or Glowstone – To illuminate your skyscraper till it’s brighter than Times Square on New Year’s Eve!
- Iron Bars – Perfect for transforming your concrete beast into a classy abode with windows and railings galore.
Gather these materials and you’ll have everything you need to start raising an awe-inspiring skyscraper from the ground up. Sea Lanterns are 100% the way to go if you’re looking for some futuristic flair.
Features:
- Automated Elevators
Use Redstone to create elevators that actually work. It’s a bit tricky, but oh-so-satisfying.
- Observation Deck
Why not add an observation deck for a panoramic view of your Minecraft world? Nothing beats a perfect view for your visitors.
- Rooftop Garden
A little greenery never hurt anyone. Plus, it’s a great way to use up any extra dirt blocks you’ve got lying around.
Building a skyscraper takes Minecraft construction to dizzying new heights! That gleaming glass exterior will transform your world, especially when the moon starts working its magic. And there’s no better feeling than peering down at your blocky domain from the top of a custom skyscraper you crafted block-by-block.
#2 Spaceport
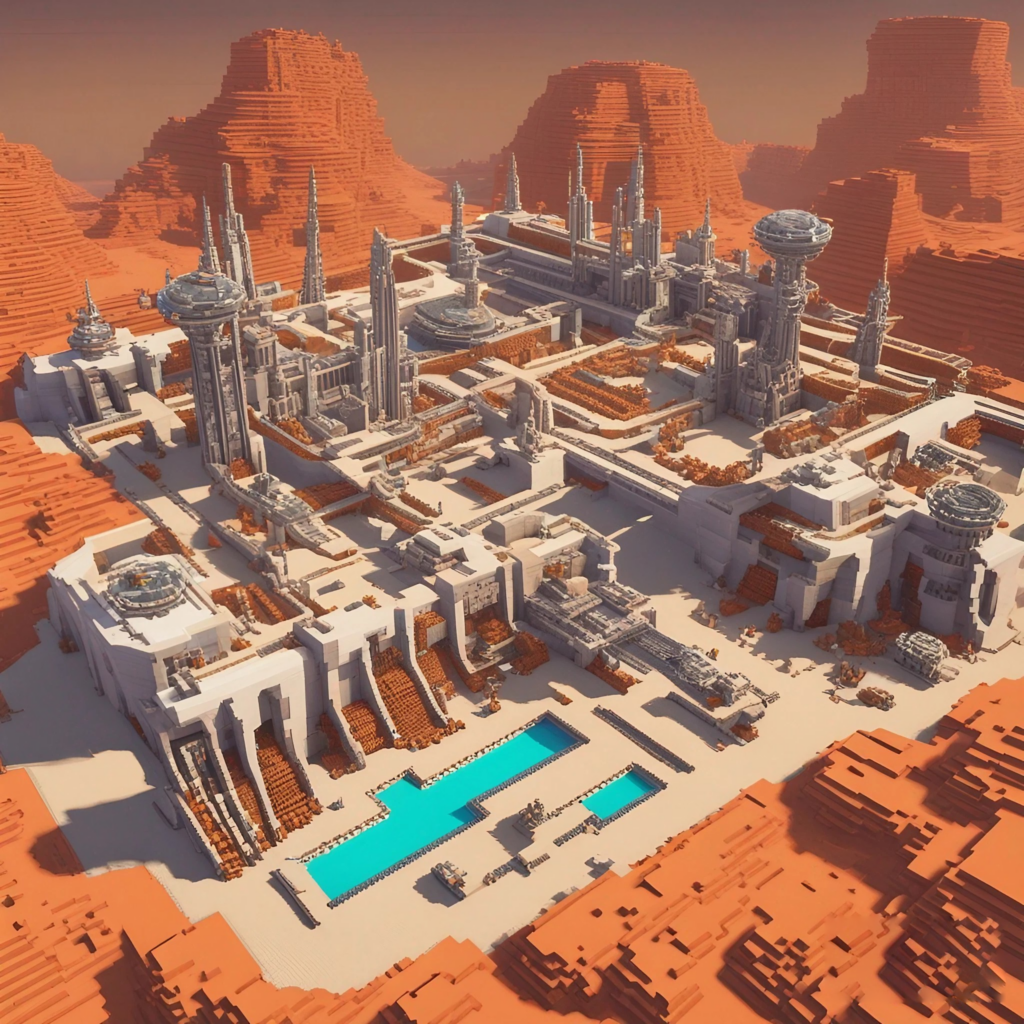
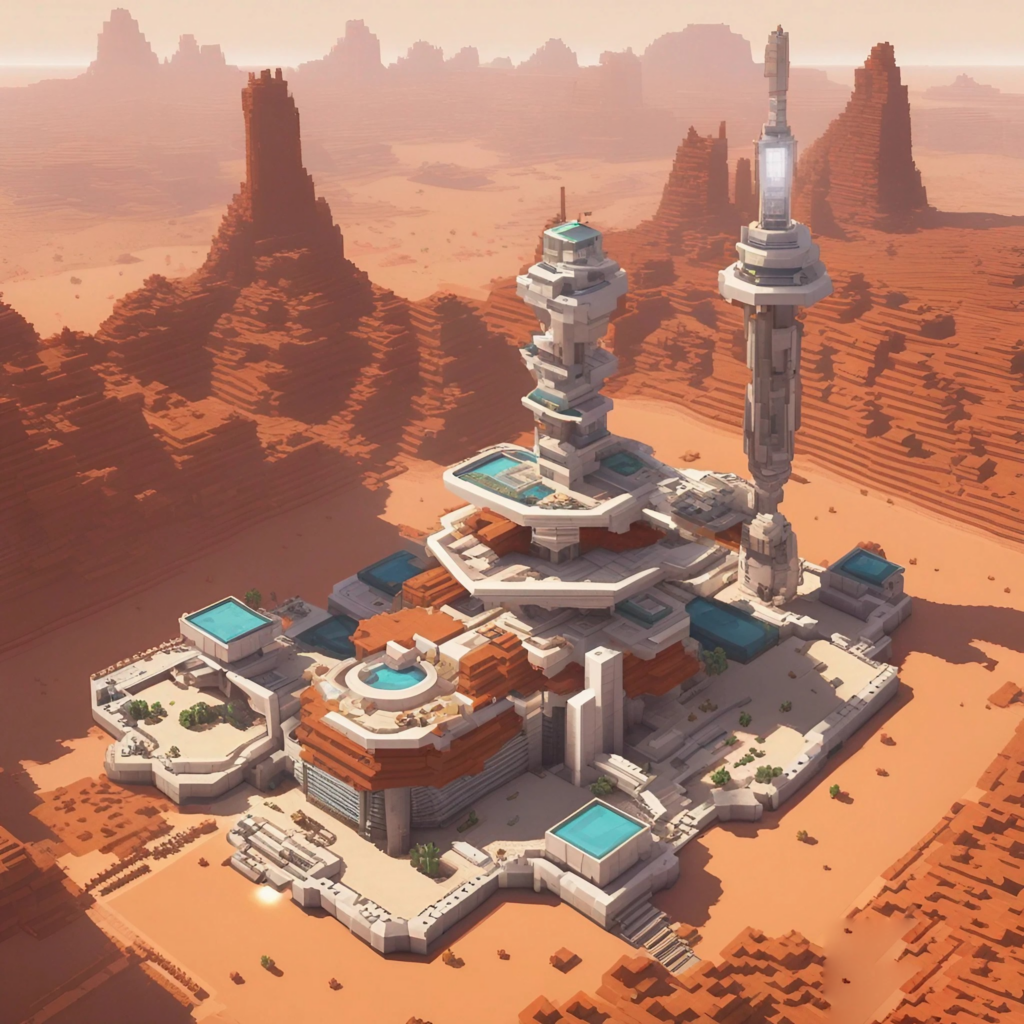
So, you’ve conquered the skies with your Futuristic Skyscraper, but what about the stars? That’s what we are going to build next! If you’re like me, you’ve probably spent more than a few Minecraft nights staring up at that pixelated moon and wondering, “Could I go there?” Well, with a Spaceport, you’re one step closer to turning that dream into a blocky reality.
Materials You’ll Need
Before we blast off, let’s gather some essential materials:
- Quartz Blocks: These will serve as your launch pads and main buildings.
- Iron Blocks: Perfect for the hangars and spacecraft.
- Redstone Lamps: To light up your runway and buildings.
- Terracotta: For ground markings and decorative elements.
I’ve always found that Quartz Blocks give that clean, high-tech look, which is perfect for a Spaceport.
Features
Launch Pads
You can’t have a Spaceport without launch pads. Use Quartz Blocks to create these, and make sure they’re spacious enough to accommodate your spacecraft.
Hangars
Next to your launch pads, you’ll want some hangars. These can be made from Iron Blocks and will house your spacecraft when they’re not jetting off into the cosmos.
Control Towers
No Spaceport is complete without control towers. Build these using Quartz Blocks and fill them with Redstone Lamps for that authentic, control-room ambiance.
Monorail System
If your Spaceport is big enough, why not add a monorail system? Use Minecart tracks to connect different parts of the Spaceport. It’s not just functional; it’s also super cool.
Space Museum
Last but not least, consider adding a Space Museum. This could be a place to showcase different rockets, space artifacts, or even captured aliens (if you’re into that sort of thing).
Building a Spaceport is one of those projects that really lets you flex your creative muscles. From the monorail system to the Redstone-controlled launch sequence, every detail adds a layer of realism and excitement to your Minecraft world. Plus, it’s a great way to prepare for the upcoming Minecraft update that might just include more space features (fingers crossed!).
#3 Underwater City
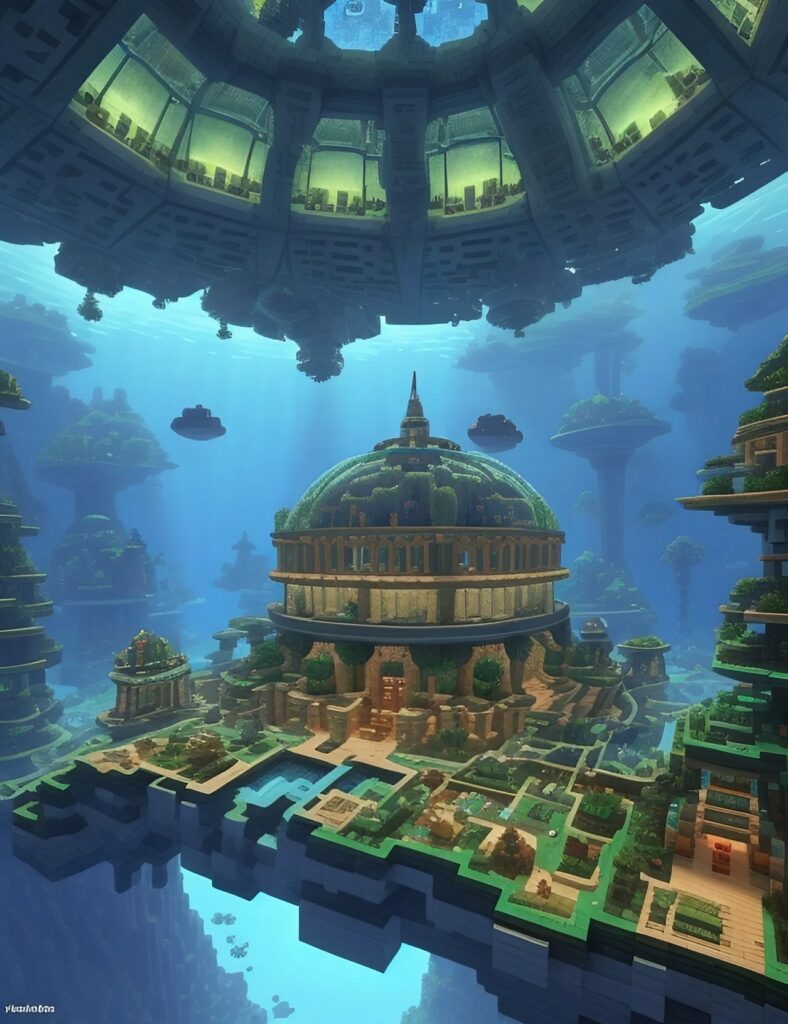

Now that you’ve soared to the skies with a Futuristic Skyscraper and reached for the stars with your Spaceport. But what about the depths of the ocean? If you’re anything like me, you’ve probably been intrigued by the underwater biomes in Minecraft and wondered, “What would it be like to live down there?” Well, grab your best enchanted helmet; we’re about to find out with an Underwater City!
Materials
Before we dive in (pun intended), let’s talk about what you’ll need:
- Prismarine Blocks: For that authentic underwater look.
- Glass Blocks: To create transparent walls and domes.
- Sea Lanterns: To light up your underwater paradise.
- Coral Blocks: For some colorful underwater flora.
Prismarine is my go-to for underwater builds. It just fits the aquatic vibe so well.
Features
Transparent Domes
The hallmark of any Underwater City has to be the transparent domes. Use Glass Blocks to create these, allowing you to gaze out at the surrounding ocean life.
Coral Gardens
An Underwater City wouldn’t be complete without some local flora. Use Coral Blocks to create vibrant gardens that add a splash of color to your city.
Submarine Bay
If you’re going to live underwater, you’ll need a way to explore. Why not add a Submarine Bay built from Iron Blocks and Glass Panes?
Sea Farms
Sustainability is key when you’re living underwater. Create Sea Farms using Sand Blocks and plant Seagrass or Kelp for a renewable food source.
Treasure Vaults
Last but not least, every Underwater City needs a Treasure Vault. Use Gold and Diamond Blocks to create a secure area where you can store your most valuable items.
Building an Underwater City is a unique challenge that tests both your creativity and your resourcefulness. You’ll need to think about how to keep water out of your structures (Sponges are a lifesaver!) and how to light up spaces effectively so you can actually see what you’re doing.
#4 Racetrack
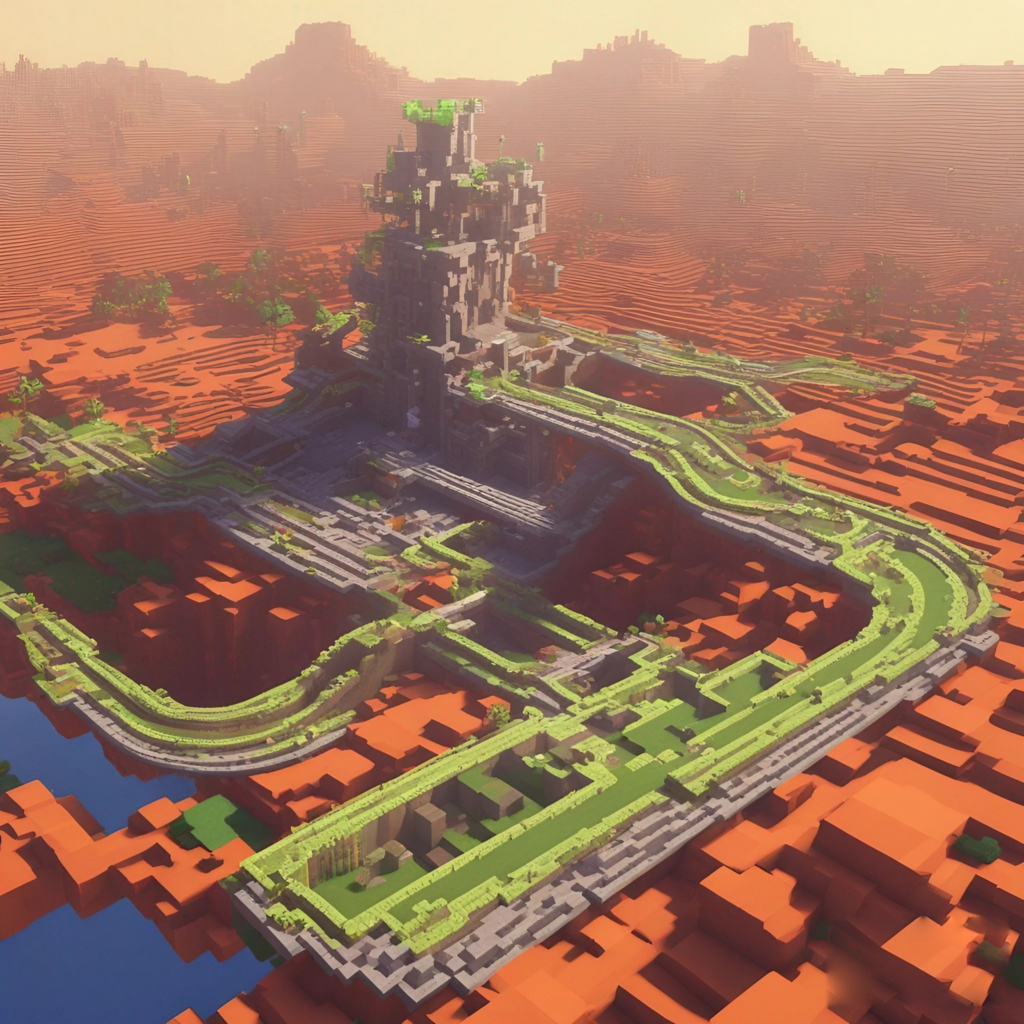
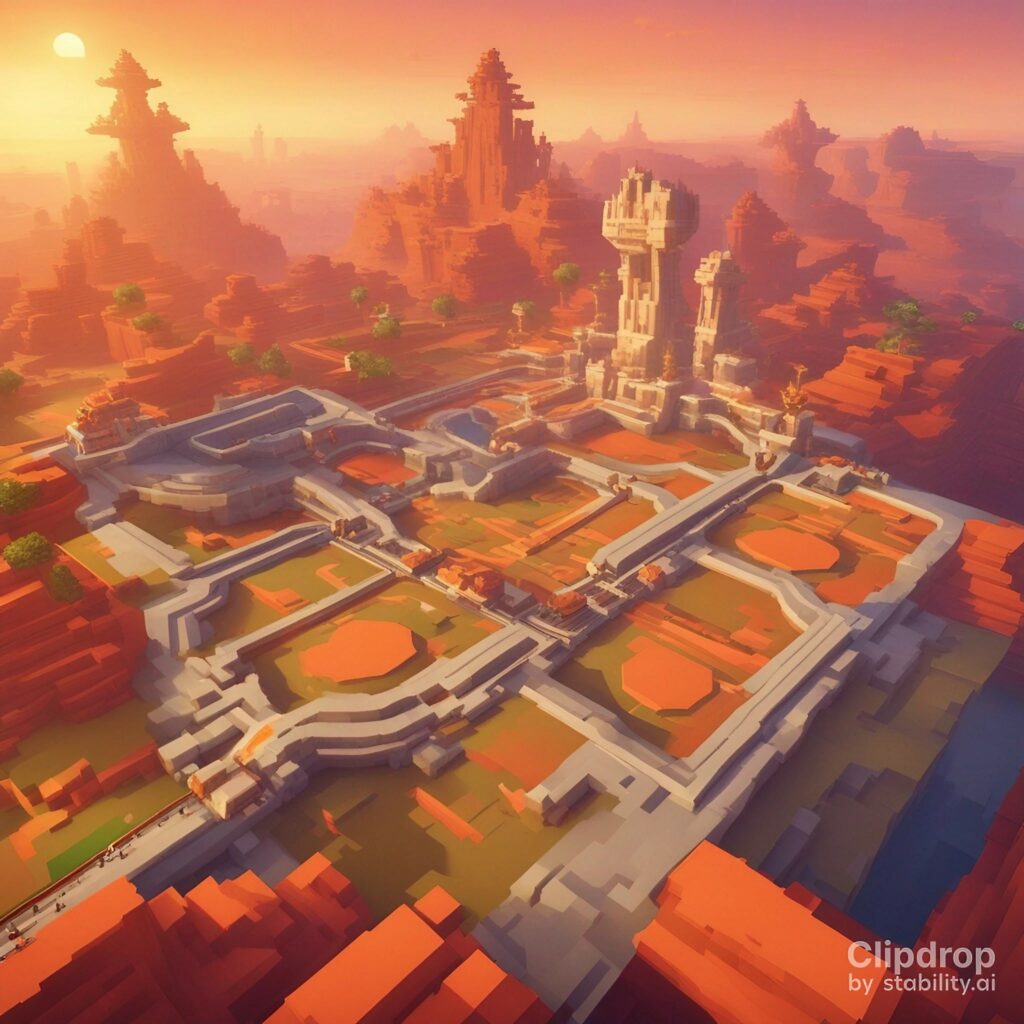
The next one is quite unique a race track! So, you’ve built sky-high with a Futuristic Skyscraper, ventured into space with a Spaceport, and even explored the ocean depths with an Underwater City. But have you ever felt the need for speed? If you’re nodding your head right now, then buckle up because we’re about to build a Hovercar Racing Track!
Materials
Before we hit the gas, let’s gather some materials:
- Concrete Blocks (Various Colors): For the actual racing track.
- Slime Blocks: To create jumps and speed boosts.
- Redstone and Redstone Torches: For starting lights and other interactive features.
- Fences: To line the track and keep your hovercars on course.
I’ve found that using a variety of Concrete colors can really make your track pop visually. Plus, Slime Blocks add an element of unpredictability that makes racing even more fun.
Features
Racing Lanes
First things first, you’ll need to lay down some racing lanes. Use Concrete Blocks in various colors to differentiate between the lanes.
Jumps and Loops
What’s a racing track without some jumps and loops? Use Slime Blocks to create areas where hovercars can catch some air or even loop-the-loop.
Starting and Finish Lines
Use Redstone and Redstone Torches to create a starting light sequence. For the finish line, consider using banners or even a firework display to celebrate the winner.
Spectator Stands
Don’t forget about the audience! Build spectator stands using Wooden Stairs and Fences so your Minecraft friends can watch the action unfold.
Pit Stops
Add some pit stops along the track where players can make quick repairs or adjustments to their hovercars. A few Crafting Tables and Chests filled with essential materials should do the trick.
Building a Hovercar Racing Track is a fantastic way to bring some fast-paced excitement to your Minecraft world. The combination of speed, jumps, and competitive racing can make for some unforgettable Minecraft moments.
#5 Zen Garden
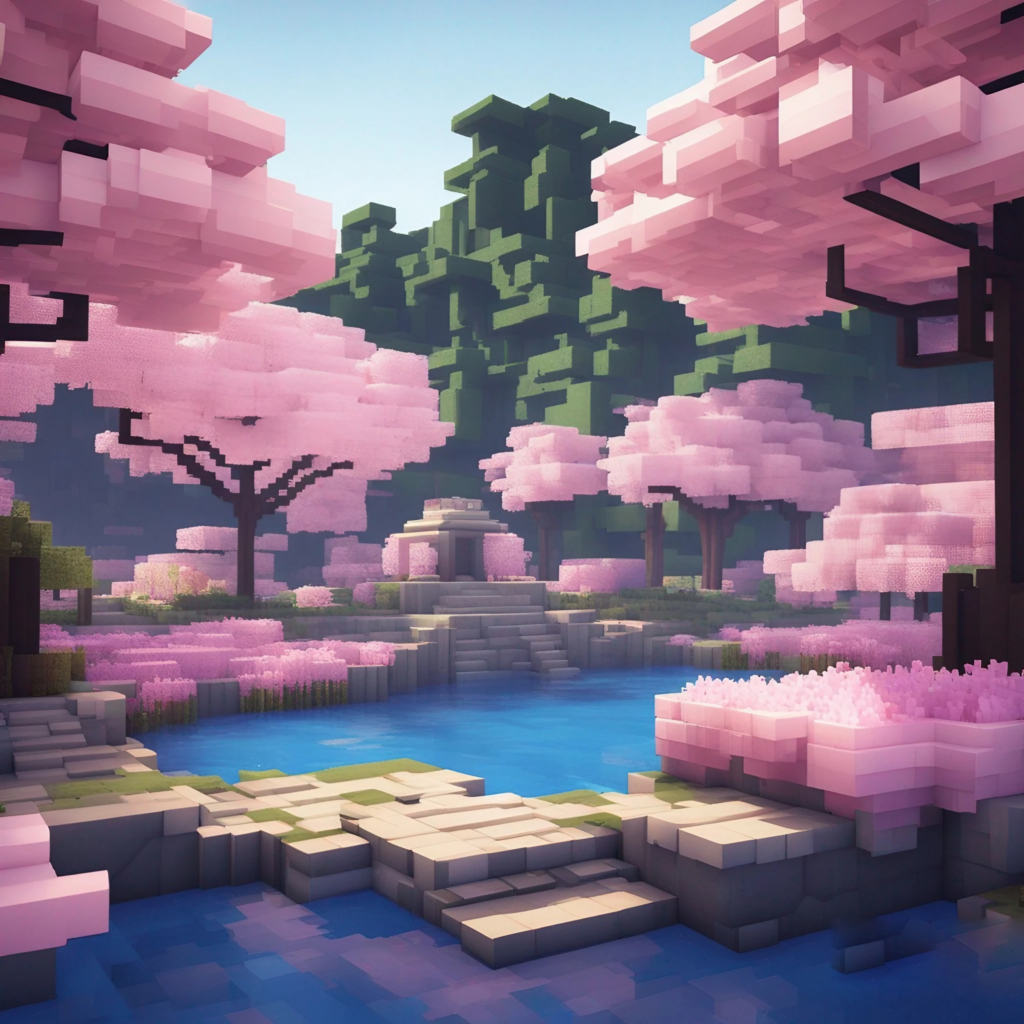
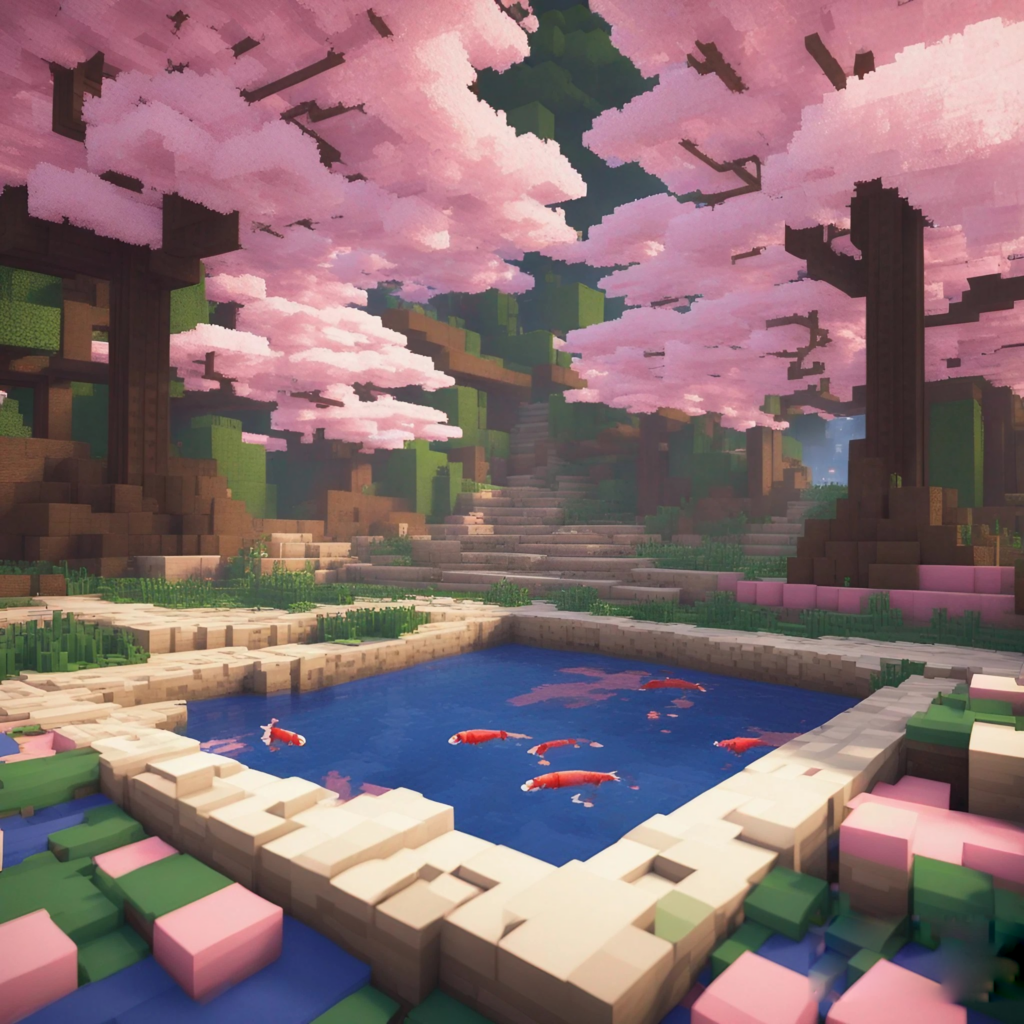
Now that you’ve built towering skyscrapers, ventured into the Space, explored the ocean’s depths, and even raced hovercars. Next, we are going to build something we can relax and find your inner peace. If you’re craving a tranquil escape, then it’s time to build a Zen Garden Sanctuary.
Materials
Before we get into the Zen zone, let’s talk materials:
- Sand Blocks: For the classic Zen garden ground.
- Stone Slabs: To create walking paths.
- Bamboo and Saplings: For a touch of greenery.
- Water Buckets: To create small ponds or water features.
I personally love using Bamboo in Zen gardens. It adds a touch of authenticity and tranquility to the whole setting.
Features
Raked Sand Patterns
A Zen garden wouldn’t be complete without raked sand patterns. Use a Hoe to create lines in the Sand Blocks, mimicking the look of a raked Zen garden.
Stone Paths
Create meandering stone paths using Stone Slabs. These paths can lead to different areas of the garden, like a meditation spot or a small pond.
Water Features
Water brings life to any Zen garden. Use Water Buckets to create small ponds or even a flowing stream. You can add Lily Pads for extra detail.
Meditation Spots
Create a few secluded spots with a Crafting Table and a Chest, where you can sit and meditate. Use Fences to separate these spots from the rest of the garden for added privacy.
Bamboo Groves
Plant Bamboo and Saplings to create small groves. These not only add to the aesthetic but also provide a sense of enclosure and peace.
#6 Volcanic Lair
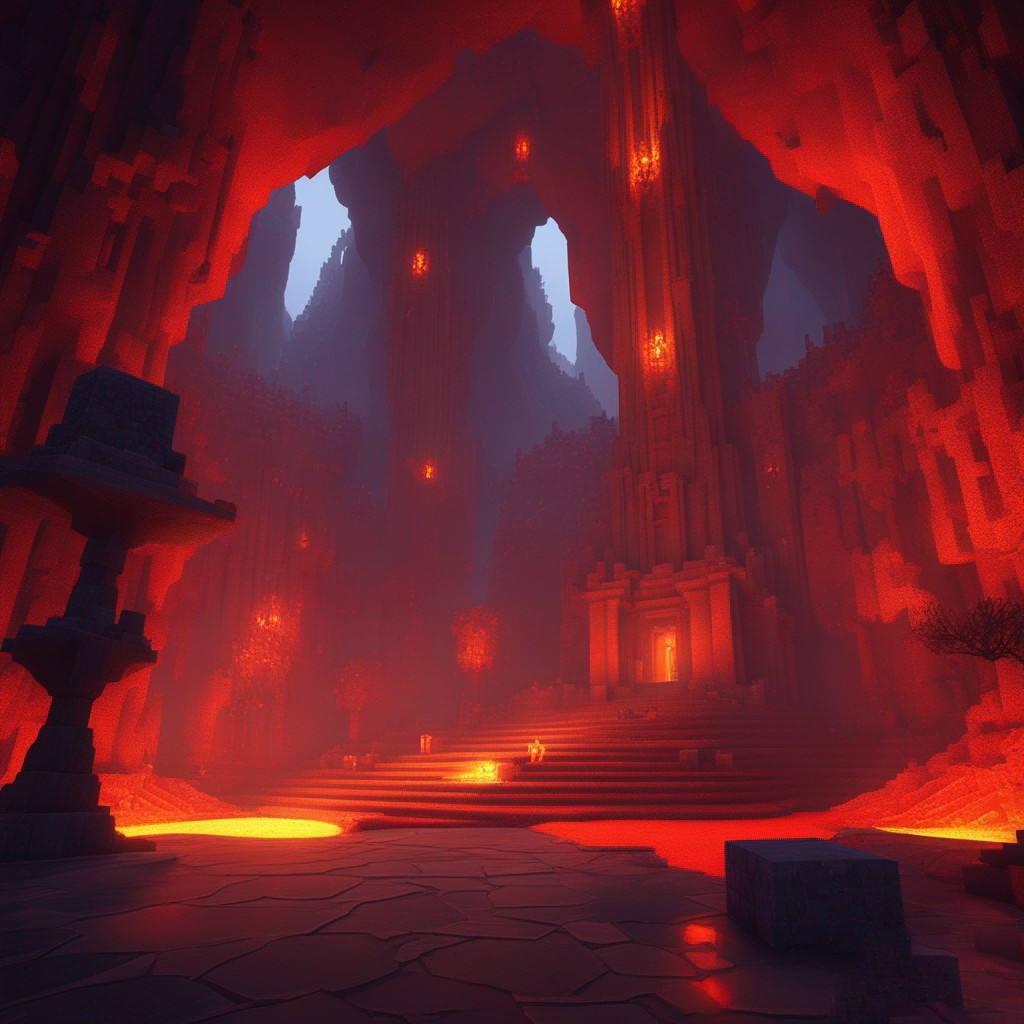
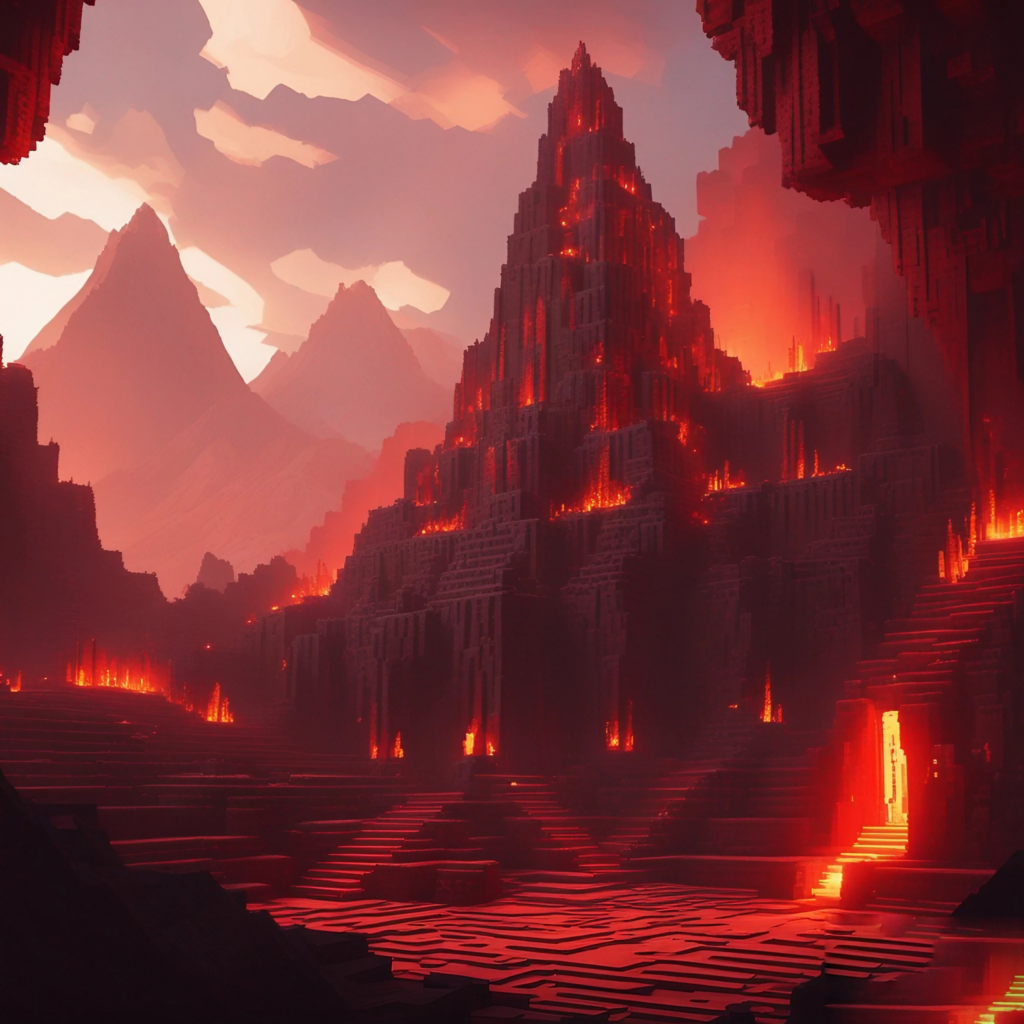
The next one is quite unique. A volcanic lair! Yes, a lair fit for a Minecraft villain? If you’re looking to add a bit of drama and danger to your world, then a Volcanic Lair is just what you need.
Materials
Before we dive into the molten core, let’s gather some materials:
- Obsidian Blocks: For that indestructible fortress vibe.
- Netherrack: To simulate volcanic rocks.
- Lava Buckets: Because what’s a volcano without lava?
- Iron Bars: For those inevitable prison cells.
Obsidian is a must for any self-respecting villain. It’s tough, it’s menacing, and it screams, “Don’t mess with me.”
Features
Lava Moat
Start by creating a lava moat around your lair. Not only does it look cool, but it’s also a practical defense against intruders.
Throne Room
Every villain needs a throne room. Use Obsidian and Redstone Torches to create a dark and dramatic space where you can plot your next big scheme.
Prison Cells
Let’s be honest, you’re going to capture some heroes along the way. Use Iron Bars to create prison cells. Maybe even add some Skeletons for that extra touch of evil.
Secret Passages
Use Redstone and Pistons to create secret passages and trapdoors. Because a lair isn’t a lair without some hidden compartments.
The Core Chamber
The pièce de résistance of any Volcanic Lair is the core chamber, where you can control the volcano’s activity. Use Netherrack and Lava Buckets to simulate a bubbling, volatile core.
Building a Volcanic Lair is like tapping into your inner movie villain, and it’s as fun as it sounds. The challenge here is not just in the build itself but in creating an atmosphere of danger and intrigue.
#7 Arctic Research Facility
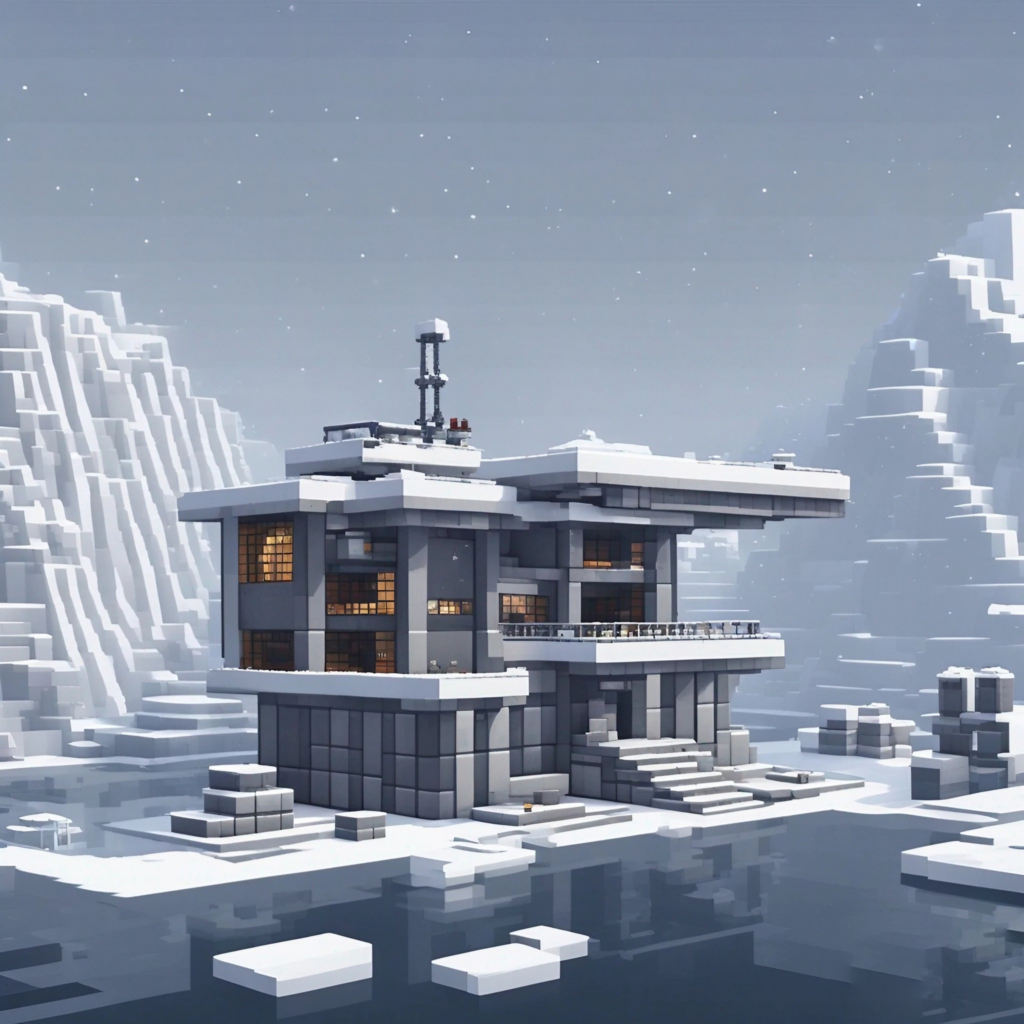
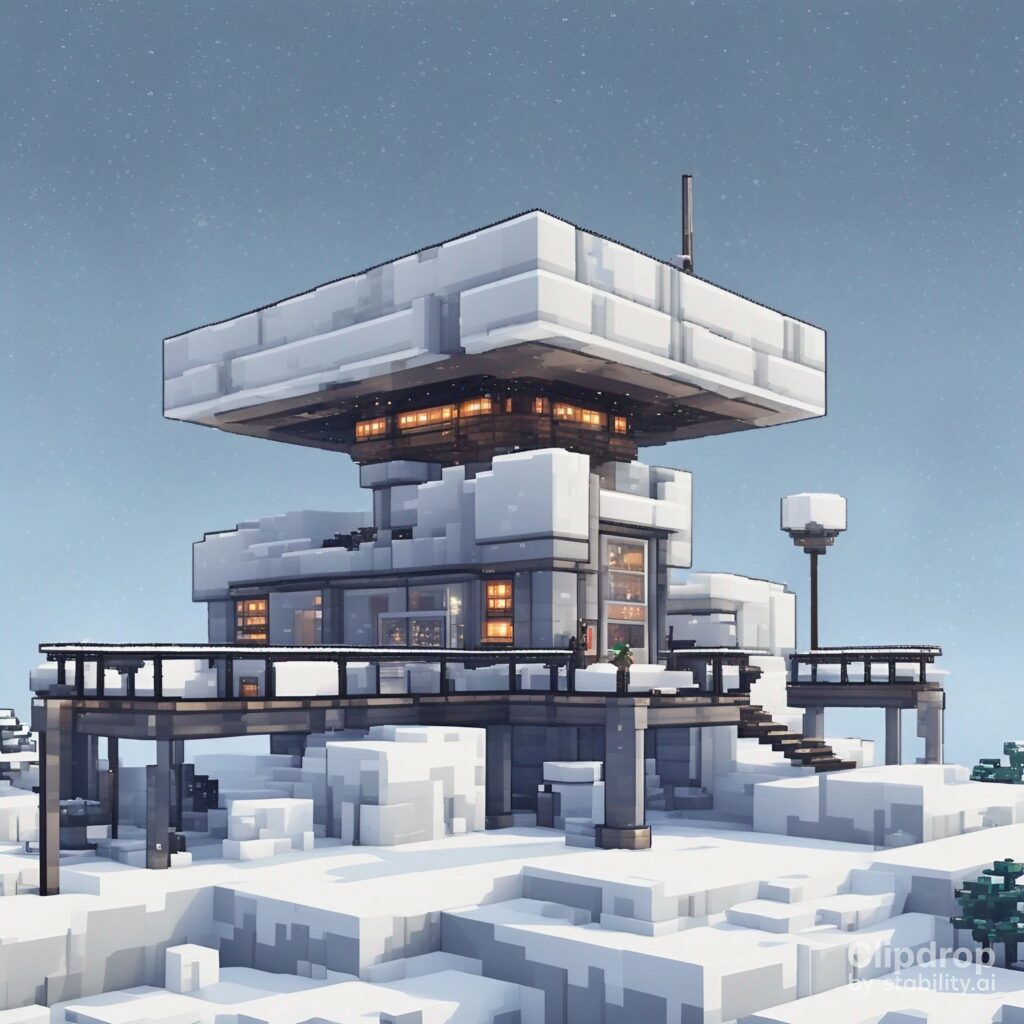
Now that you’re done with Volcanic and hot Lair, next we are going to to build a facility in a Frozen part of minecraft. But are you ready to brave the cold? If you’re looking for a new frontier to conquer, an Arctic Research Station is your next big challenge.
Materials
Before we venture into the icy unknown, let’s gather some materials:
Snow Blocks and Ice Blocks: To blend in with the icy environment.
Wooden Planks: For the interior and furnishings.
Glass Panes: To let in that scarce Arctic light.
Furnaces: To keep warm, of course!
I’ve always found that using Snow and Ice Blocks adds a level of realism to Arctic builds. Plus, they’re pretty easy to come by in snowy biomes.
Features
Research Labs
Your station needs some research labs. Use Wooden Planks and Glass Panes to create rooms where you can “study” various Minecraft phenomena.
Observation Towers
Build observation towers using Glass Panes and Ladders. These will give you a panoramic view of the icy wasteland and any approaching dangers.
Storage Rooms
You’ll need a place to store all that research material and survival gear. Create storage rooms with plenty of Chests and Shelves.
Living Quarters
Don’t forget about living quarters for you and your fellow researchers. A Bed, Crafting Table, and Furnace are the essentials here.
Helipad
For quick getaways or supply drops, add a helipad made from Iron Blocks and Redstone Lamps.
Building an Arctic Research Station offers a unique set of challenges, like making sure you’re well-stocked on supplies and keeping warm with Furnaces. It’s a different kind of survival challenge, especially if you’re playing in Survival mode.
#9 Space Elevator
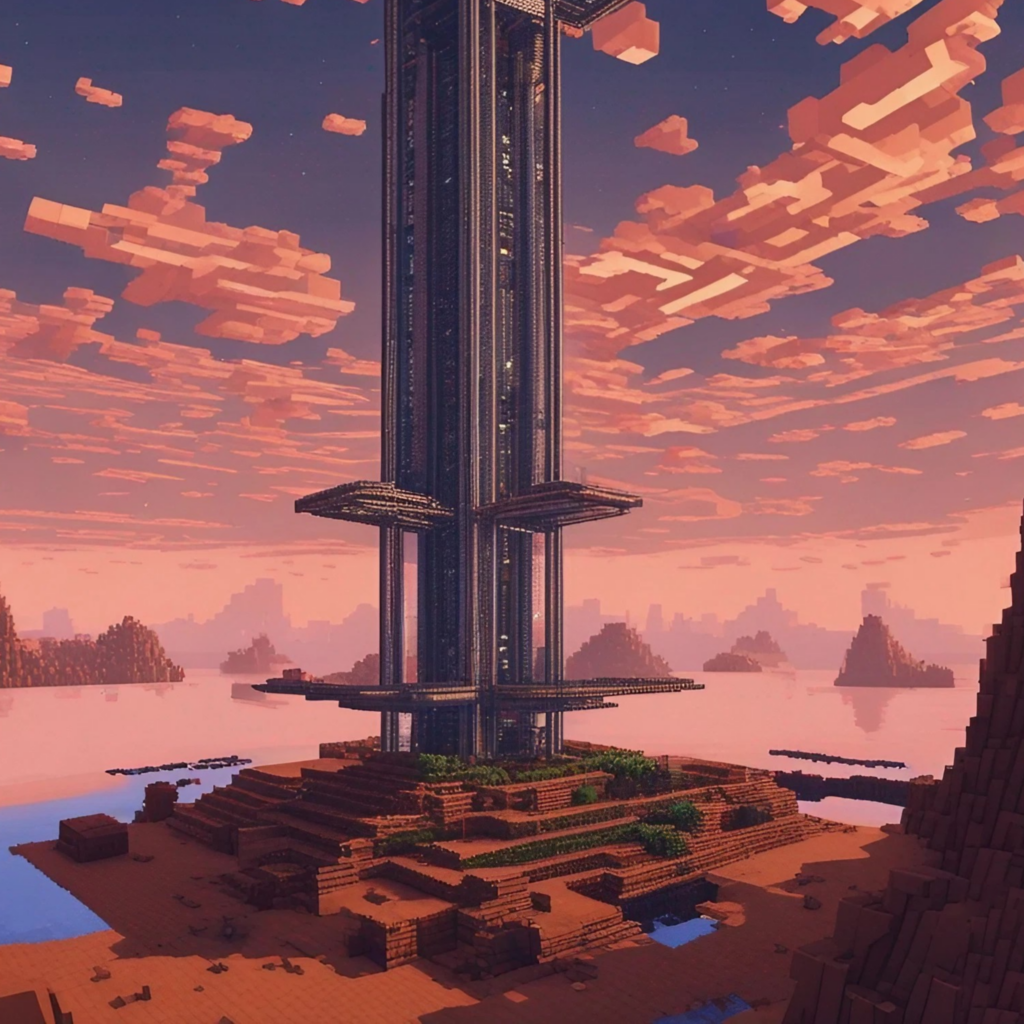
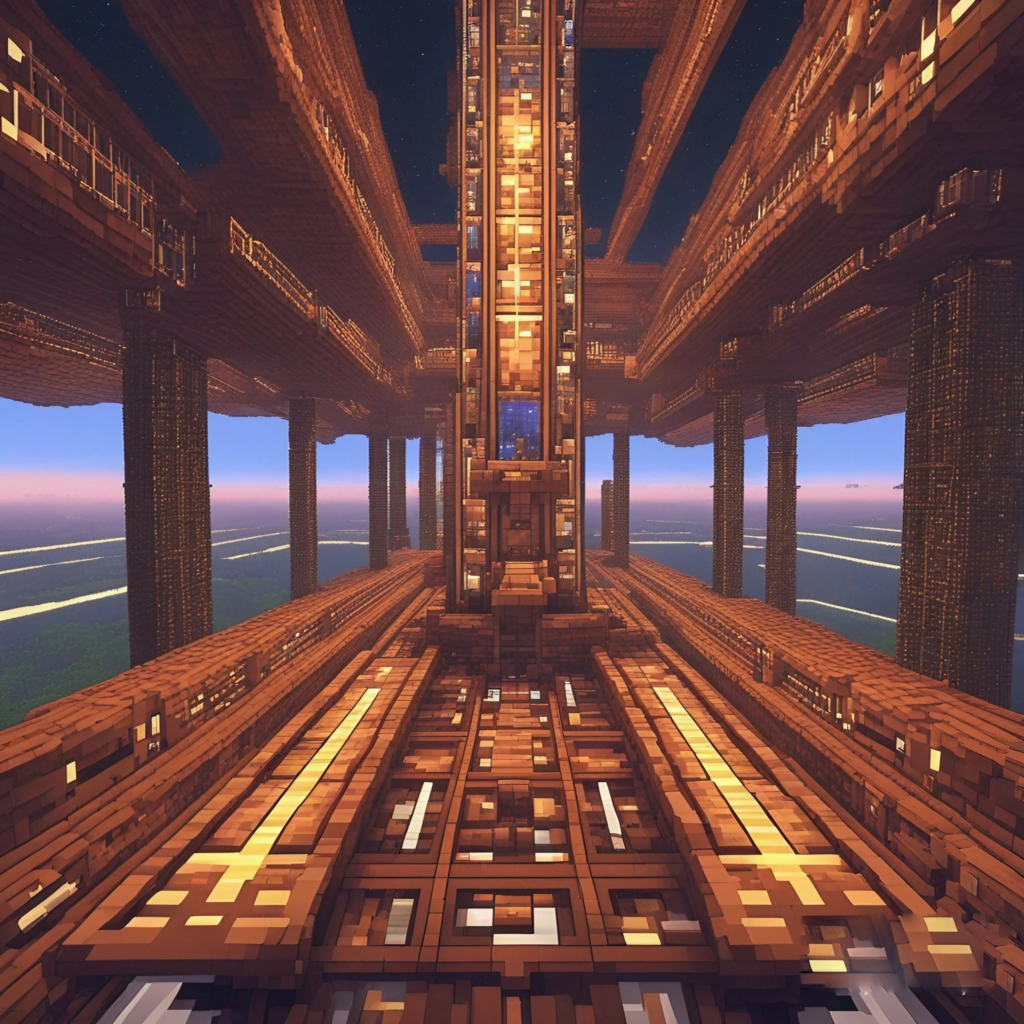
You may have built the Spaceport above the next good space facility you might want to build with Minecraft is a Space Elevator! It’s a way to reach the stars without a rocket.
Materials
Before we ascend to the heavens, let’s gather some materials:
- End Rods: For the core of the elevator and a futuristic look.
- Glass Blocks and Panes: To encase the elevator.
- Redstone and Pistons: For the elevator mechanism.
- Iron Blocks: For the base and counterweights.
End Rods are perfect for this build, giving it a high-tech, otherworldly vibe.
Features
Elevator Shaft
The heart of any Space Elevator is the shaft. Use End Rods to create a tall, straight line that will serve as the core of your elevator.
Glass Encasement
Surround your End Rods with Glass Blocks and Panes to create an encasement. This will protect you from the elements as you ascend.
Counterweights
Use Iron Blocks to create counterweights at the base of your elevator. This adds a touch of realism to your build.
Control Room
At the base of your Space Elevator, build a control room filled with Levers, Buttons, and Redstone. This is where you’ll operate your elevator.
Observation Decks
As you ascend, why not add some observation decks? Use Glass Panes for the walls so you can enjoy the view as you rise above your Minecraft world.
Building a Space Elevator is a monumental task, but the payoff is incredible. Imagine standing on an observation deck, looking down at your entire Minecraft world. It’s a sight to behold and a testament to your building skills.
It’s a great way to experiment with Redstone and Pistons to create a functional elevator system. Just make sure to test it a few times before you take that first ride; we don’t want any accidents, do we?
#10 Haunted Mansion
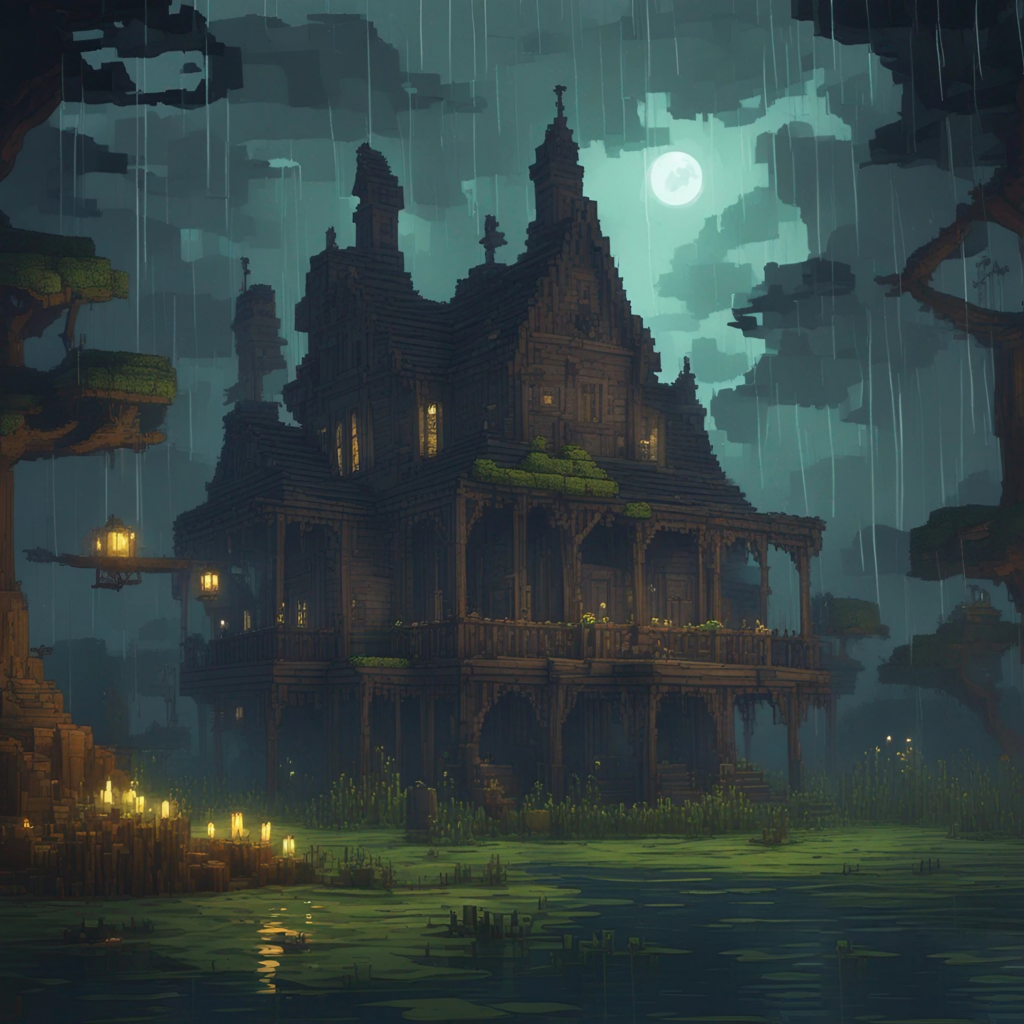
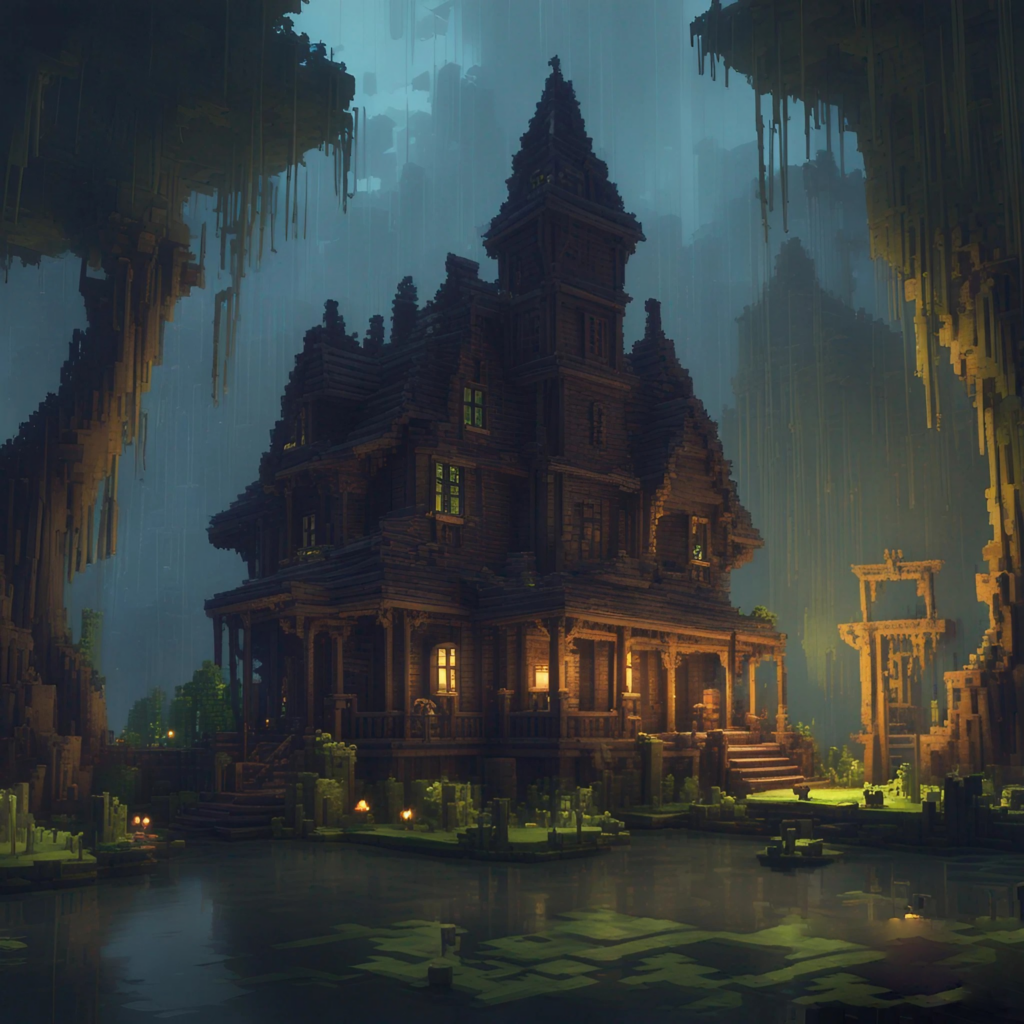
Last but the not the least, let’s build a Haunted Mansion, now you probably think that this is not actually futuristic, but let me tell you that you need to get creative to make something ordinary to be futuristic! Are you ready for a spine-chilling adventure?
Materials
Before we venture into the realm of the supernatural, let’s gather some materials:
- Dark Oak Wood: For that eerie, aged look.
- Cobwebs: To add a layer of spookiness.
- Redstone and Redstone Torches: For creepy lighting effects.
- Soul Sand: Because every haunted mansion needs some haunting souls.
Dark Oak Wood is perfect for this build; it gives off that old, haunted vibe that’s essential for any spooky mansion.
Features
Grand Entrance
Start with a grand entrance using Dark Oak Wood and Iron Doors. Add some Redstone Torches for a flickering light effect.
Haunted Hallways
Create winding hallways filled with Cobwebs and Soul Sand. The more confusing, the better!
Secret Rooms
Use Bookshelves and Pistons to create secret rooms filled with Chests of “cursed” items.
Ghostly Garden
Every haunted mansion needs a ghostly garden. Use Dead Bushes, Cobwebs, and Soul Sand to create an outdoor space that’s as creepy as the interior.
Tower of Terror
Add a tower using Dark Oak Wood and fill it with Bats for that extra layer of spookiness.
The key here is atmosphere; you want to create a sense of dread and mystery as players explore the mansion. And let’s be real, who doesn’t love a good scare? Just make sure to keep your sword handy; you never know what might be lurking in those dark corners.


